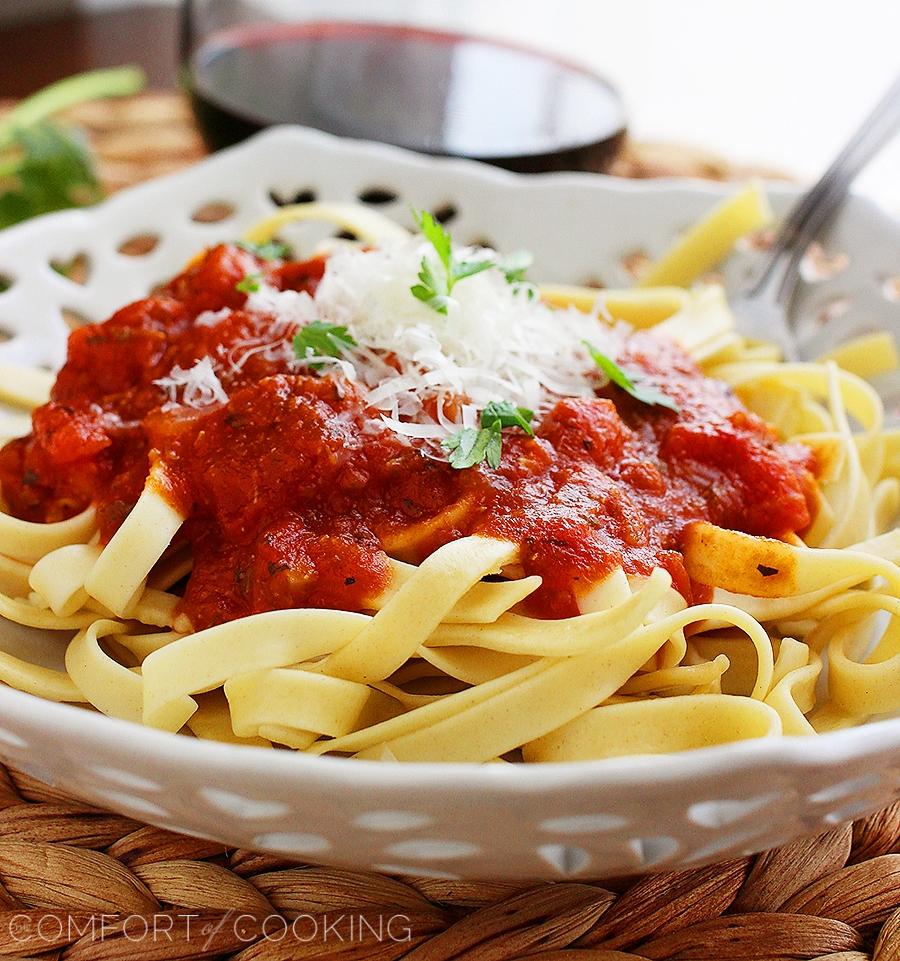
Is there anything better than homemade pasta with a rich, bubbly tomato sauce? Come check out my tutorial showing how you can make it, too!
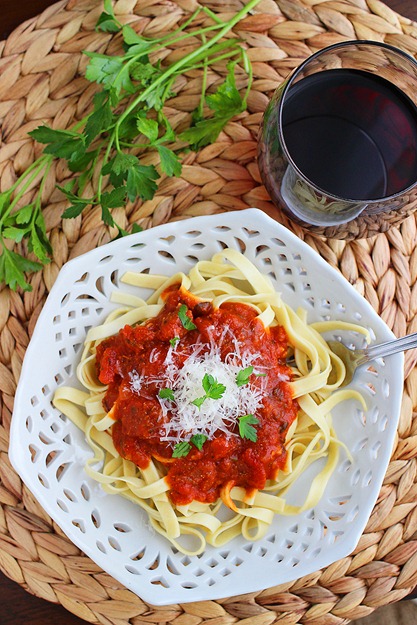
Today, I’m excited to share my best homemade pasta recipe with you. A simple combination of four ingredients makes for the best pasta you’ve ever had in your life – perfect with a savory tomato sauce. Each tender forkful is made even more tasty knowing it’s homemade!
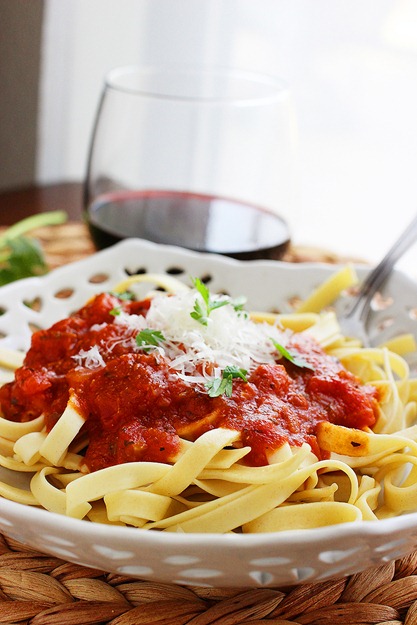
You’ll love feasting on homemade fettuccine just as much as you’ll enjoy making it. There’s no better sense of accomplishment than seeing those beautiful doughy ribbons of pasta spill out into your hand and onto your plate. Homemade pasta may take a little patience, but the work you put in is well worth the delicious reward!
Homemade Pasta
Ingredients
For Pasta
- 2.5 cups "00" flour
- 4 large eggs
- 1/2 tsp. olive oil optional
Equipment
- For preparing: Mixing bowls plastic wrap, stand mixer, dough cutter
- For shaping: French rolling pin roller attachment, cutter or chitarra, manual cutter
- For drying: Large baking sheet extra flour
- For cooking: Large pot kosher salt, slotted spoon
Instructions
- Add flour to a large bowl. Make a well in the center; add eggs and yolk.
- Whisk eggs with a fork, and then combine with the flour. When the texture becomes stiff, finish by hand to form a rough dough. If dry bits of flour remain after a few minutes of mixing (be patient, it’s a dry dough) add a few drops of water or olive oil to bring the dough together.
- Form the dough into a smooth ball, cover with a bowl or kitchen towel. Let rest at room temperature for 10-15 minutes- it will be easier to knead.
- Knead the dough for 5-7 minutes. Do this by folding the dough over itself, pushing it forward with the heel of your hand, turning slightly as you go. The texture will be very stiff at first, but by the 2 minute mark it will start to soften. Keep kneading until the dough is soft, malleable and has a talcum-like finish. It should “bounce back” slowly when poked.
- Form dough into a ball, cover tightly with plastic wrap, and rest at room temp for 30 minutes.
- Divide dough into 3 portions. Dust your work surface with 00 flour. Also dust a shallow pan with flour (your pasta sheets will land here). Fit the stand mixer with the roller attachment.
- On your work surface, cut the pasta dough into 4 pieces. Working with one piece at a time, flatten the dough into a 6-8inch oval patty. Keep the remaining dough covered.
- Set the pasta roller to #1 which is the lowest/widest setting on the Kitchen Aid. With the machine running, send the dough through the roller. Repeat once more.
- Continue to roll the dough through settings #2-4, (2x) on each setting. Do not pull on the sheet as it comes through the roller; just guide it along gently. If at any point the dough becomes sticky, dust with flour.
- Your pasta sheet is ready once it is thin and somewhat translucent (you should be able to see your hand underneath).
- Dust the pasta sheet generously with flour, fold it in half, and place onto your floured sheet pan. Cover with a kitchen towel. Repeat the rolling process for the remaining 3 dough portions. If desired, cut into long ribbons or shapes, and allow to air dry slightly before cooking.
- See "Notes" for cooking or storing instructions.
Video
Notes
• Make space. You’ll need a long, clutter-free work surface to handle the dough. The kitchen table or kitchen island is perfect.
• Pasta dough can dry out quickly. Keep it covered with plastic wrap or a kitchen towel.
• To Store: Heavily dust the pasta strands with flour. Coil around your hand or arrange loosely on a tray. Cover with plastic wrap and hold atroom temperature if cooking within 1-2 hours. Alternatively, store in the fridge for up to 12 hrs. checking occasionally, to make sure the strands are not sticking. Note: Pasta left in the fridge past 24 hrs might oxidize, discolor and/or stick together.
• To Freeze: Allow the pasta to air-dry, uncovered, for 15-20 minutes before freezing. The helps to prevent sticking. Portion into zip top bags,remove the air, and freeze up to 1 month. Cook directly from frozen, no need todefrost first.
• To Cook: Bring a large pot of salted water to a boil. Cook pasta to al dente, about 3 minutes. Test doneness by trying a piece. If it has a slightchew, it's ready. Remove from heat and drain pasta, tossing with desired sauce.Top with fresh basil.
and this is why i need a kitchenaid mixer!!
Wow! I got the same “gadget” a couple of years ago and haven’t tried it yet. I am too scared! :) Looks like you did a great job.
I have a pasta machine that I’ve yet to test out. Must change that! You make it look so easy!
I see the pasta maker with the ravioli isn’t one that fits on a mixer. Can you share what kind it is and how you think it did the job on the ravioli? Thanks…I have been wanting a pasta maker for ages..this just might be the push to get one!
Sorry, I’m not sure what the brand or model of pasta maker that is – its my mother-in-law’s. It is a crank-style pasta maker that you can find in most kitchen specialty stores, though I highly recommend the Kitchenaid attachment!
Very impressive….there is nothing better than fresh pasta.
We love homemade pasta around here…always reminds me of my grandma!
I LOVE homemade pasta! I dont make it nearly enough!
How pretty is your pasta, love! Nothing tastes better than homemade!
I love making fresh pasta! Yours looks wonderful. I just made ravioli for the first time a couple weeks ago, I need the little shaper thing – so much easier!
I love pasta! Especially home-made ones. I’ll show this recipe to my mom. I’m sure she can make it taste as good as it looks. Thank you for sharing.
I love homemade pasta and what a great tradition to have to make fresh pasta during the holidays!
I have the KitchenAid attachment and absolutely adore it! It makes everything run so smoothly!
Amazing! Homemade pasta has been on my bucket list for so long! As soon as I get the kitchenaid attachment, I’ll be making these!