Golden, crispy, tangy fried pickles with a zesty Ranch dipping sauce! The BEST recipe for fried pickles you will ever find. Crunchy, salty pickles are a classic Southern snack made easily at home. Wow your friends and watch these fly off the platter!

When I first crunched into crispy fried pickles in Texas, it was love at first bite! With a cool, creamy dip for dunking, it was the snack I never knew I was missing. Much to my surprise, these golden fried pickles are very quick and easy to make at home… Just a heads up though, you need this recipe. I’ve tried them all and I can tell you, this is the one.
And then you need to lounge and relax, because DAMN! Did you just make these yourself in under 20 minutes?
Yes. Yes, you did.
Can I get an AMEN for fried pickles on the couch?
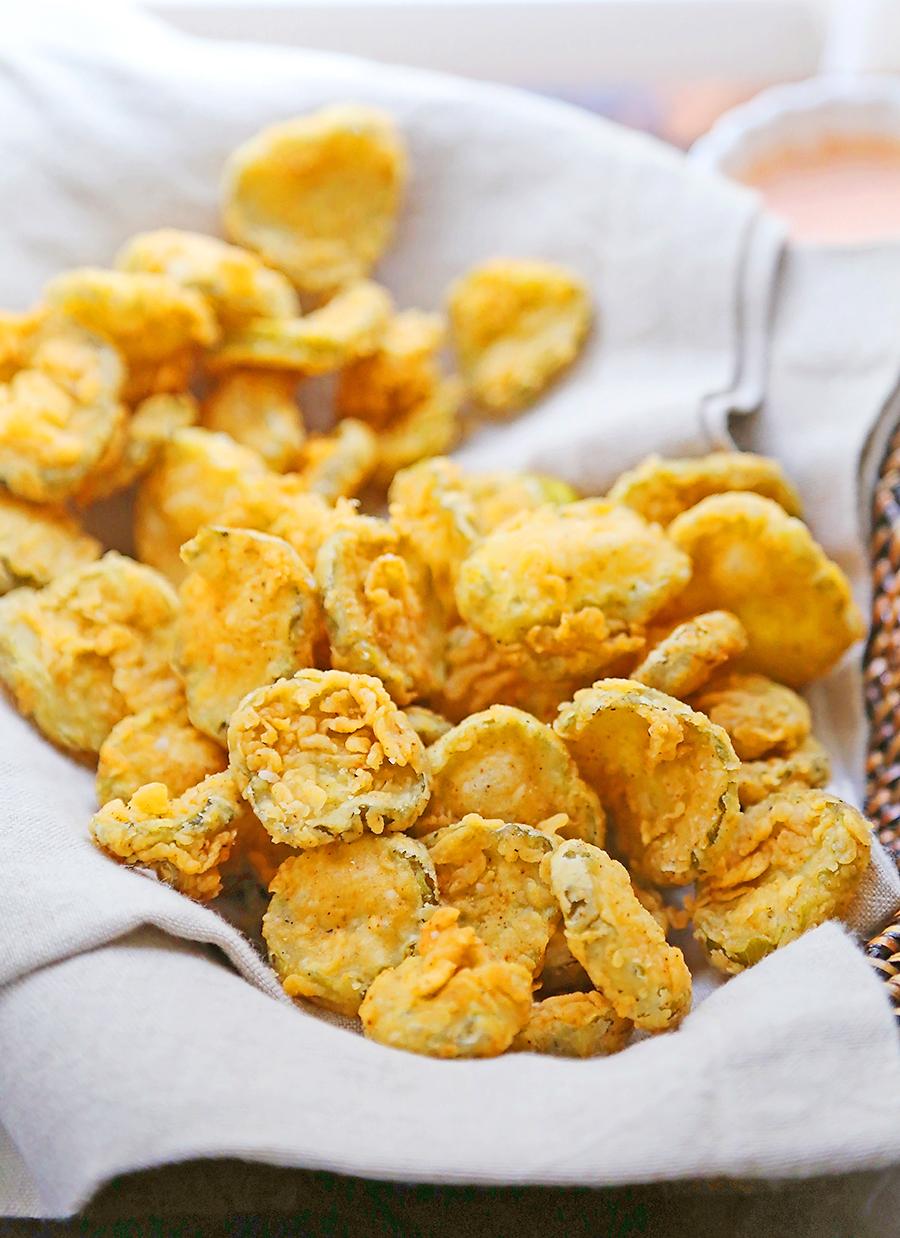
After several attempts at getting this one right, I’ve happily recreated this restaurant-quality snack for you to enjoy in the comfort of home. A warm, sizzling basket full of fried pickles is such an inviting Southern-style snack.
These absolutely fly off the platter as soon as they’re hot and ready. Don’t believe me? You’ll be convinced after a bite.
Let’s get into it!
Ready to make your own Buttermilk Fried Pickles?
• Before frying: Mix together your dipping sauce (options below). Prepare a paper-towel lined surface.
• For preparing pickles: Drain all liquid from pickle jar. Lay pickles out between layers of paper towels. Pat dry. If pickles are too soggy and wet, the breading will not stick. In a medium bowl, whisk flour, salt, pepper, paprika, cayenne pepper, and garlic powder. In a separate bowl, whisk together buttermilk, egg, and hot sauce.
• Working 3-4 slices at a time, coat pickles in flour mixture, gently shaking off excess. Dip in buttermilk-egg mixture, then coat with flour mixture again. Shake off excess flour.
• When ready to fry pickles: Fill a large pot with oil, for frying (about 2-3 inches deep). Set to medium heat. To test oil readiness, flick a bit of flour into the hot oil. If it sizzles, your oil is ready. Lower heat to medium-low.
• Carefully drop 3-4 pickles at a time into the oil. Fry about 90 seconds on each side, until light golden brown. Using a slotted spoon or strainer, remove pickles from oil. Place on a paper towel lined surface.
• Serve pickles warm with your desired dipping sauce.
Keep reading for full ingredient list + recipe, below

Looking for more delicious snack ideas? Try these recipes!
• Cheesy Loaded Nacho Tater Tots
• Chocolate-Peanut Butter Granola Apple Bites
• 3-Ingredient S’mores Cookie Bites
• Cheesy Bacon Oven Chips with Chipotle Ranch Dipping Sauce
• 3-Ingredient Mini Queso Cheese Balls

So, the secret to perfection in your fried pickles, you ask?
• Pat the pickles dry. Like, as dry as you can get them. The breading will not stick if you’re working with wet pickles. Feel me?
• Make sure your oil isn’t too hot. After a few minutes of preheating the oil, I flick a little flour in. If it sizzles, your oil is ready. Turn down your heat to low, and you’re good to go.
• Double dip. Coating your pickles in flour, then buttermilk, then more flour is the way to go! This gives texture that sticks and a satisfying crispy, yet lightly crunchy bite.
• Keep a close eye while frying. These fry up in less than 2 minutes, so careful not to burn. This is one of those scenarios where patience pays off!
Now that you’re a pickle pro, I am begging you to try these at home. They are absolutely addictive. I was skeptical all those years ago, but fried pickles have turned out to be my FAVORITE salty snack when the craving hits. A homemade batch has taken the obsession to a whole new level!
Go check out the easy recipe, including a handful of delicious dipping sauce options. I know you will love these like we do!
Buttermilk Fried Pickles + Red Hot Ranch

Ingredients
For the Fried Pickles:
- 4 cups vegetable oil, for frying
- 16 oz. jar dill pickle slices, pat VERY dry
- 1 cup all-purpose flour
- 1/2 teaspoon kosher salt
- 1/4 teaspoon ground black pepper
- 1/4 teaspoon paprika
- 1/4 teaspoon cayenne pepper
- 1/4 teaspoon garlic powder
- 1/2 cup buttermilk, shaken well
- 1 large egg
- 1 Tablespoon hot sauce, I used Frank's Red Hot Sauce
For the Red Hot Ranch:
- 1/4 cup Ranch dressing
- 2 Tbsp. sour cream
- 2 Tbsp. Frank's Red Hot sauce
- 1/2 tsp. chipotle hot sauce, optional
- 1/4 tsp. garlic powder
- 1/4 tsp. onion powder
Dipping sauce options:
- Ketchup+ Sriracha sauce
- Barbecue sauce
- Remoulade sauce
- Garlic aioli
- Avocado Ranch
Instructions
Before frying:
- Mix together your dipping sauce (options above). Prepare a paper-towel lined surface.
For preparing pickles:
- Drain all liquid from pickle jar. Lay pickles out between layers of paper towels. Pat dry. If pickles are too soggy and wet, the breading will not stick.
- In a medium bowl, whisk flour, salt, pepper, paprika, cayenne pepper, and garlic powder.
- In a separate bowl, whisk together buttermilk, egg, and hot sauce.
- Working 3-4 slices at a time, coat pickles in flour mixture, gently shaking off excess. Dip in buttermilk-egg mixture, then coat with flour mixture again. Shake off excess flour.
When ready to fry pickles:
- Fill a large pot with oil, for frying (about 2-3 inches deep). Set to medium heat.
- To test oil readiness, flick a bit of flour into the hot oil. If it sizzles, your oil is ready. Lower heat to medium-low.
- Carefully drop 3-4 pickles at a time into the oil. Fry about 90 seconds on each side, until light golden brown.
- Using a slotted spoon or strainer, remove pickles from oil. Place on a paper towel lined surface.
- Serve pickles warm with your desired dipping sauce.
- Enjoy!
Did you make this recipe?
If you make this recipe, I’d love for you to leave your feedback and give this recipe a rating. Don’t forget to tag @comfortcookingblog on Instagram. Thank you!

Want to receive our latest recipes straight to your email inbox? Click here to subscribe!